How to Clean Your Fujitsu Fi 7160 Scanner: A Step-by-Step Guide
How to Clean Your Fujitsu Fi 7160 Scanner - The Fujitsu Fi-7160 Scanner and Fi-7260 scanners are known for their speed and reliability. To ensure they continue to perform at their best, it's essential to establish a routine cleaning regimen. In just a few minutes, you can keep your scanner running smoothly and maintain its peak performance. This guide will walk you through the process of cleaning the Fujitsu Fi-7160 Scanner, ensuring it stays in great shape for years to come.
Step 1: Powering Off the Device
Before we begin the cleaning process, it's important to power off the scanner. Locate the power button and press it for about three seconds or until the scanner stops illuminating. This will ensure your safety during the cleaning process.
Step 2: Cleaning the Consumables
The consumables inside the scanner play a crucial role in its performance. To start, open the Automatic Document Feeder (ADF) by pressing the lever located on the right-hand side of the upper section, as well as the lower section. Keeping these consumables clean will prolong their lifespan and improve the scanner's feeding reliability.
a) Lower Section:
Locate the pick roller in the lower section of the ADF. Take a lint-free cloth and apply Fujitsu F1 cleaner to it. Gently clean the pick roller using the cloth, ensuring all dirt and debris are removed. This will help the roller function optimally.
b) Upper Section:
In the upper section of the ADF, you'll find the separation roller. The best way to clean it is by removing it from the scanner. Open the roller compartment and lift the separation roller out. Using a lint-free cloth with F1 cleaner, wipe the separation roller in the direction of the grooves running along the surface. This will ensure thorough cleaning. Once done, return the separation roller to the holding bracket and close the compartment.
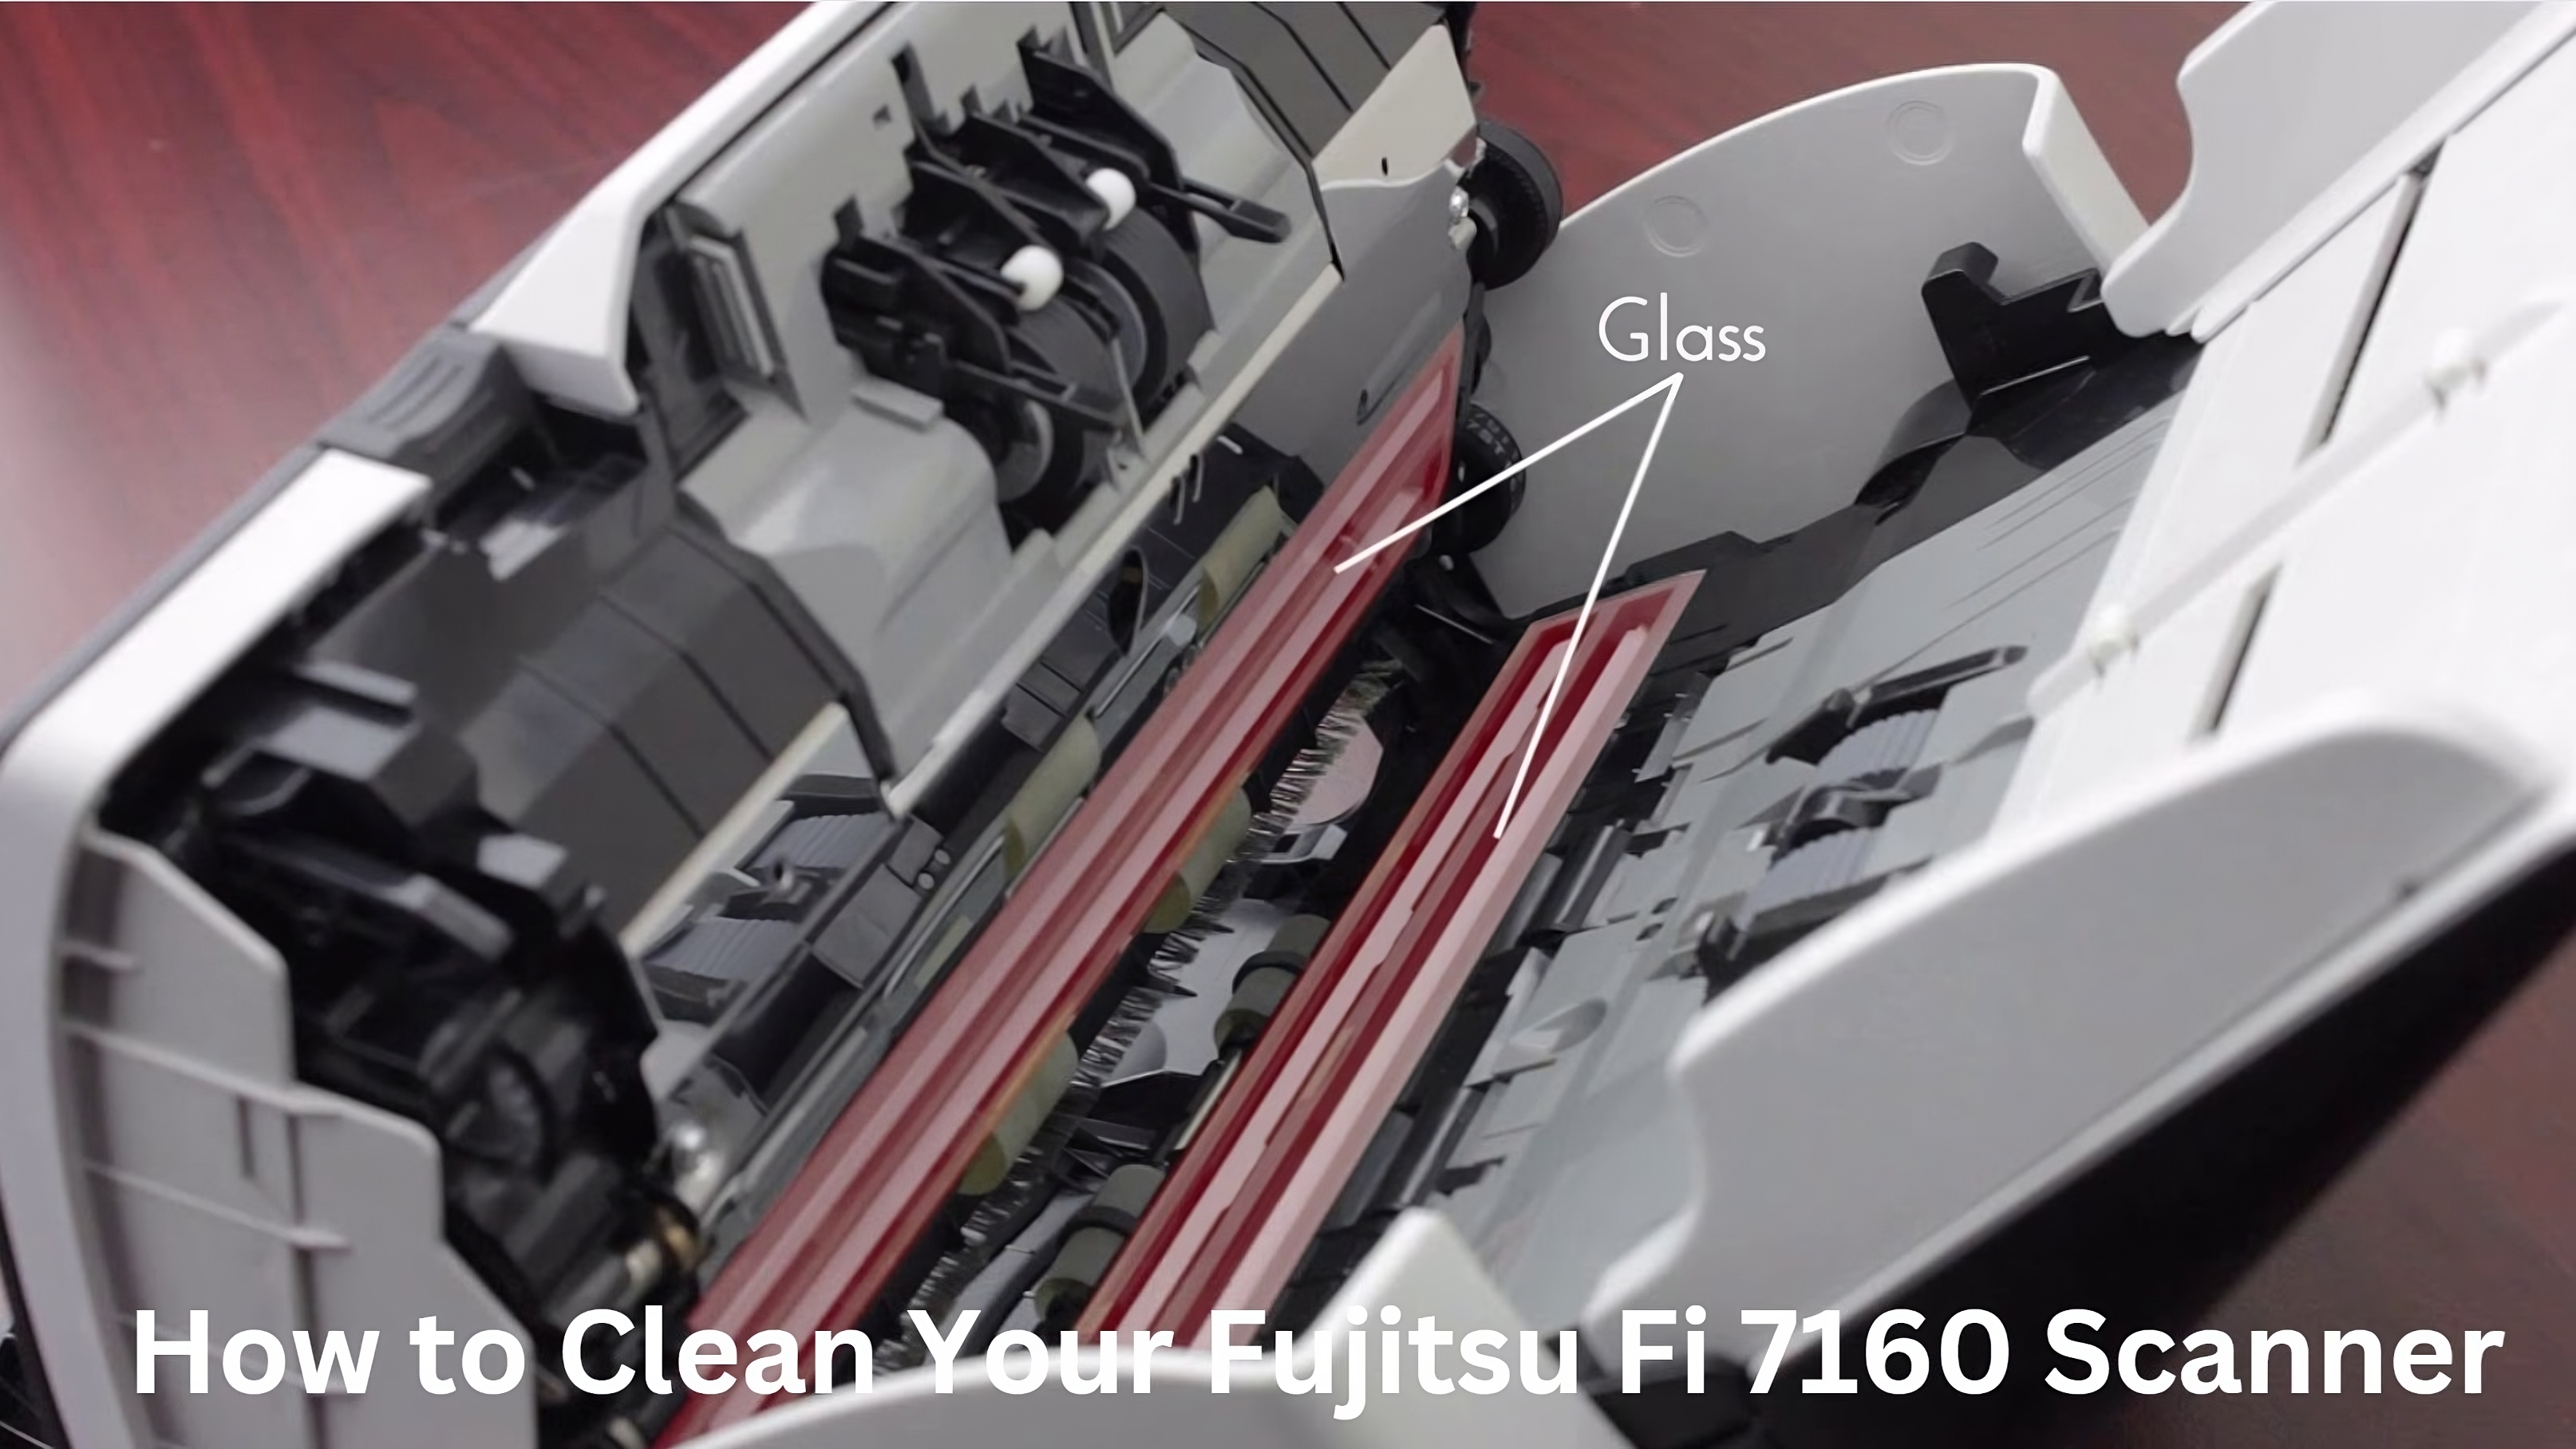
Step 3: Cleaning the Glass Areas
Clean glass areas are essential for maintaining good image quality while scanning. Take a moment to wipe off all glass areas inside the paper path using a lint-free cloth and F1 cleaner.
a) Top Section:
Start by wiping the glass surface along the top section of the paper path. Ensure the cloth is dampened with F1 cleaner and gently wipe away any dirt or smudges.
b) Bottom Section:
Next, move to the bottom section of the paper path and repeat the process. Wipe the glass surface using the lint-free cloth with F1 cleaner, removing any residue or debris.
Note: Never spray anything, including compressed air, directly into the scanner. This can cause damage to the internal components.
Step 4: Cleaning the Flatbed (If Applicable)
If your Fujitsu scanner has a flatbed, it's important to clean it as well. This will help reduce artifacts and speckles on your scanned images.
Using a lint-free cloth, apply F1 cleaner to it. Starting from the top, clean the background area of the flatbed. Then, proceed to wipe off the glass surface, working your way down. This will ensure a thorough cleaning, free from paper dust and contamination.
Step 5: Powering On the Scanner
Once you have completed the cleaning process, ensure that everything is plugged in securely. Press the power button to turn the scanner back on. Your Fujitsu Fi 7160 scanner is now ready to start scanning again with improved performance.
Conclusion
By following these simple steps and incorporating them into your regular maintenance routine, you can extend the lifespan of your Fujitsu Fi 7160 scanner. Routine cleaning of consumables and contact surfaces will help keep your investment performing at its best, ensuring high-quality scans for many years to come. Remember to consult the official documentation or seek professional assistance if you encounter any issues or have specific concerns. Happy scanning!
For a visual demonstration of the cleaning process, you can also watch this YouTube video: